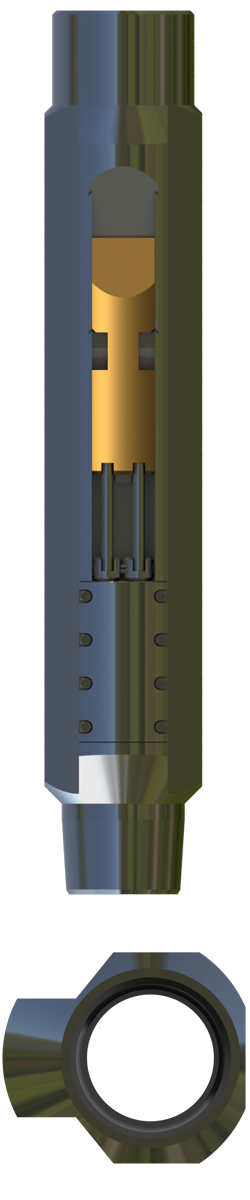
Stabilizer Tool (PCP)
Designed specifically for progressive cavity pumps (PC Pump), the PCPStabilizer™ leverages its robust design to further reduce harsh eccentric pump motion with ease.
 Designed specifically for progressive cavity pumps (PC Pump), the PCPStabilizer™ leverages its robust design to further reduce harsh eccentric pump motion with ease. Attaching simply to the top of the PC pump, the hydraulically energized Stabilizer is used in conjunction with our TorqStopper™ to firmly hold the pump in place, reducing the potential for excessive and costly tubing failure.
The innovative design of the PCPStabilizer™ relies on hydraulic pressure generated by the pump itself to move the pump to the low side of the casing bore, securing it firmly in place thereby eliminating all movement of the pump and tubing string. The only true stabilizer tool specifically designed for PC pumps, the PCPStabilizer™ offers the potential to significantly reduce operational downtime and costly work over’s, while bringing innovation and proven results to your operations.
Case Study
The PCPStabilizer™ has proven successful under a variety of common operational environments as demonstrated with one of our first clients in Northern Saskatchewan. Prior to installing the PCPStabilizer™ and faced with significant pump vibration, this customer experience pump and tubing failures that required intervention every three to four months. Now, nine years later, our customer has confirmed that the PCPStabilizer™ has performed perfectly without a single breakdown, and has prevented any further production tubing wear and shear-offs in this challenging well.
User Instructions
The PCPStabilizer™ is installed directly above the pump. Since the sliding dog on the stabilizer must be
aligned with the door on the TorqStopper™, both of these tools must be installed by hand, on the pump,
on the ground (prior to being moved to the service rig floor for installation into the well bore).
Recommended Installation Procedure
- Having first liberally applied thread compound (recommend high pressure thread compound as
specified in API Bulletin SA2 on Thread Compounds) to the entire internal and external threaded
areas, orient the PCPStabilizer™ with the pin end toward the pump and then hand tighten to the
pump stator. - As the components are torqued to the recommended make-up torque (Table 1 provides torque
specification references) ensure that the PCPStabilizer™ sliding dog and the TorqStopper™ door
end up with the same angular alignment such that when both tools are engaged down hole they
will force the pump to the same side of the casing as shown in Figure 1 (see Below). - Run to the desired depth.
- Complete TorqStopper setting procedure and ensure that the dognut is installed and landed.
- Install remaining equipment (flow tee, drive system etc.)
- The PCPStabilizer™ is set automatically with hydrostatic pressure created in the fluid column as
the motor drive that runs the PC pump is engaged.
Release Procedure
- The PCPStabilizer™ is automatically released as the fluid column is dissipated through the pump
when the drive system is shutdown (fluid column is equalized between the tubing and casing) - Remove pump drive system and related equipment
- Pick up on the dognut
- Simultaneously lift the tubing string about 1 inch (to retract stabilizer dog) and rotate tubing to the left (CCW) until tubing preload is released, then rotate a further 1/2 turn (CCW) to release the TorqStopper
- Pull up on the tubing as required

The PCPStabilizer™ is designed for use with the TorqStopperM torque anchor only. This is due to the fact that the PCPStabilizerTM is designed to move the pump and tubing to the lower side of the well bore in conjunction vvith the TorqStopperM which achieves the same objective (as opposed to other tools that attempt to hold the pump/tubing in the center of the bore). Use of the PCPStabilizer™ with any other torque anchor will VOID the Stabilizer warranty.